
Limetec - Cement-Free, Hydraulic Lime Mortars...
Natural & Coloured, Pre-Mixed Lime Mortars
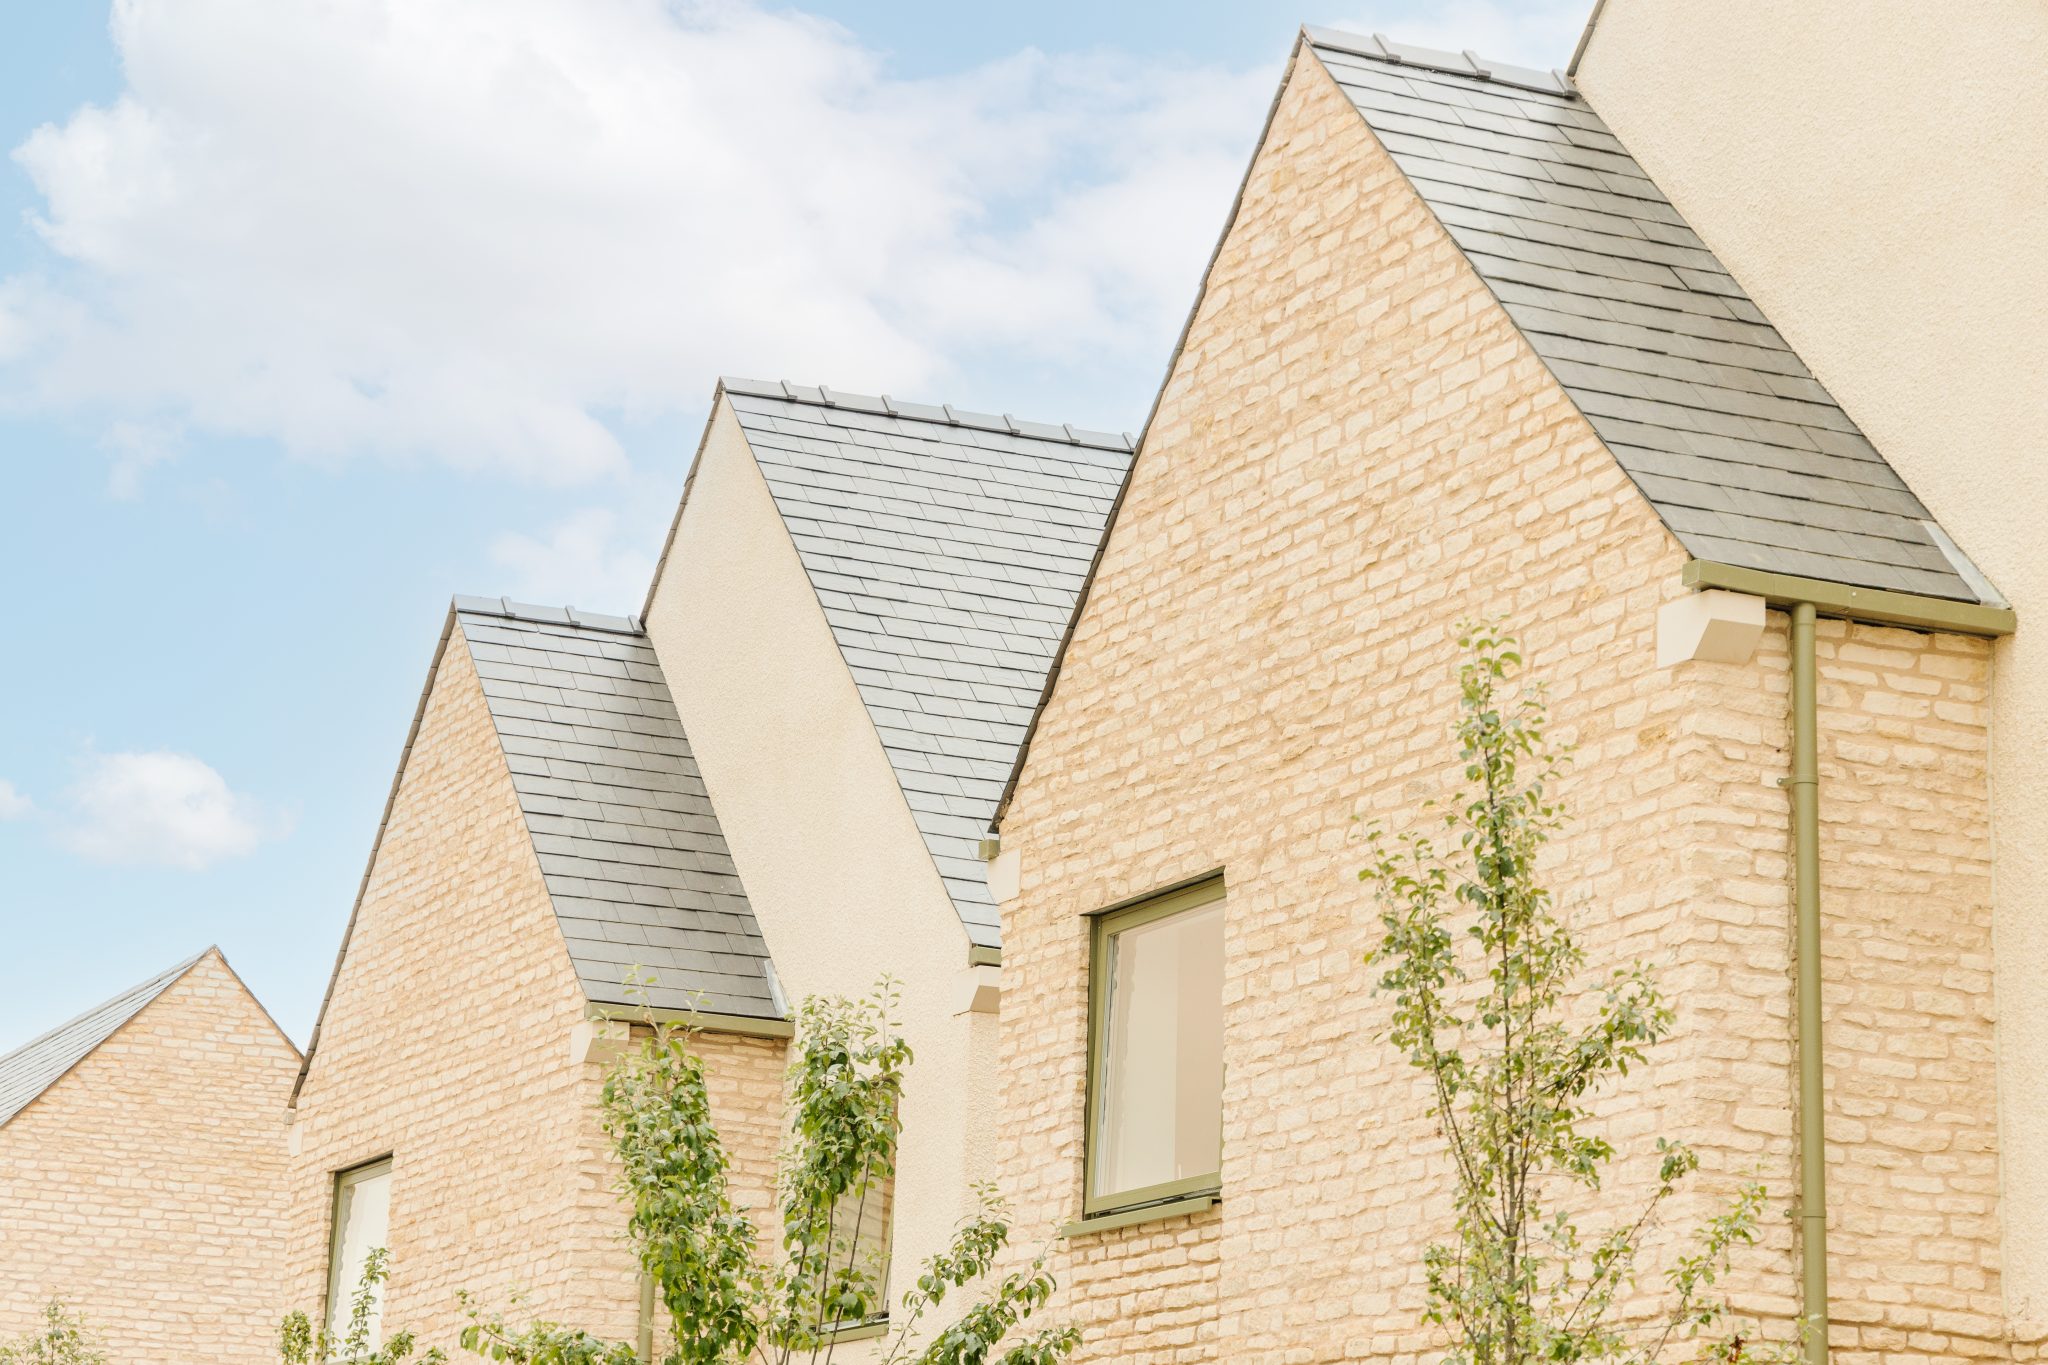
Joseph Chamberlain Sixth Form College
Built with Limetec Hydraulic Lime MortarThe UK's Leading Manufacturer & Supplier of Pre-Mixed, Hydraulic Lime Mortar
Limetec – Building a Sustainable Future on Proven Foundations...
Limetec Hydraulic Lime Mortars are cement-free, environmentally friendly, sustainable mortars, designed for the demands of modern-day, new-build, construction.
Limetec are recognised as the industry leader, in the large scale, manufacture and supply, of pre-mixed, hydraulic lime mortar, to the UK construction industry
Eco-Friendly - 60% Less CO2 compared to cement
Specifying a Limetec, factory manufactured, pre-mixed lime mortar, results in over 60% less CO2
100% Natural & Truly Sustainable
'Modern-day' Lime Mortar has an important role to play in the future of construction.
Suitable for New-Build & Restoration Projects
An ideal choice for modern build practices, as well as for restoration projects.

Mortar Accounts for approximately 17% of Visible Brickwork..
In the realm of construction decisions, mortar selection is frequently underestimated. Yet, with mortar comprising of around 17% of visible brickwork, its impact is undeniable.
Choosing a Limetec mortar, over cement-based counterparts, proves to be a pivotal choice, not just aesthetically but also for performance and sustainability.
Limetec mortars, offer a timeless elegance, enhancing the visual appeal of brick structures and beyond aesthetics, it boasts superior breathability, flexibility, and self-healing properties, ensuring longevity and resilience.
In the quest for durable, visually pleasing constructions, prioritising lime mortar becomes not just a choice but a cornerstone, of thoughtful and enduring, architectural decisions.
90% of a buildings environmental impact is defined by the very earliest decisions!
Cement has largely shaped the modern built environment but it single-handedly accounts for about 8% of all global carbon emissions.
Although the industry is taking steps to reduce its environmental impact, it's a problem that requires change.
Limetec Hydraulic Lime Mortars are cement-free, environmentally friendly, sustainable alternatives, designed for the demands of modern-day construction.

Why build with Limetec?
Limetec is the UK's leading manufacturer and supplier of pre-mixed, hydraulic lime mortar, in scale, to the UK construction industry.
Fundamental, in the development of a factory produced, pre-mixed, coloured and natural, hydraulic lime construction mortar, Limetec mortars are recognised as a much desired and viable alternative, to cement based mortars.
With over 20 years experience, development and growth, our pre-mixed lime mortars, are a proven choice for todays sustainable building practices.
Used on some of the countries most iconic and award-winning buildings — Housing developments, private residence, University buildings, residencial, commercial and high-rise — We all have a role to play!

Limetec Products
Limetec produce, factory controlled, hydraulic lime construction mortars, pointing mortars and screeds.
With unrivalled aesthetic, performance and environmental benefits, Limetec mortars bring back qualities found in traditional lime mortars – without the associated, limitations.
Designed with a focus on large scale, 'new-build' construction, building with a Limetec Hydraulic Lime mortar, instead of a cementitious equivalent, results in the production of up to 97% less, embodied CO2 .
Available in two strengths and a range of colours, our pre-mixed, mortars are available in 25kg bags, 1 Tonne Bulk Bags or 'on-site' Silos, for every masonry application.
Limetec — Building a sustainable future on proven foundations
“ Limetec Natural Hydraulic Lime mortar, is perfectly suited for new build and can play an important role in the future of modern construction”
Find out about our cement-free lime products
Environmentally friendly, sustainable Construction Mortars, Pointing Mortars and Screed
Access our Partner ProgramMortar Sample Packs
Sample packs containing our range of Hydraulic Lime Mortar colours.
ON-DEMAND CPD
On demand CPD covering 'Cement-free, Hydraulic Lime Mortar & its Benefits'.
Design Guide
Produced to aid Architects & Structural Engineers when designing masonry walls.
Coverage Calculators
Coverage calculators to estimate your projects Lime Mortar requirements.
Specifier Information
'Tender ready' copy and paste NBS Specification documents .
Knowledgebase
A growing resource of general information and Lime based articles.